


Document Actions
gvSIG-Desktop 1.12. User manual
To create an annotation layer, first select the layer from the ToC (Table of Contents).
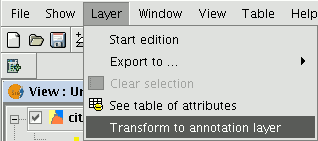
In the menu bar, select the “Layer” option, then select “Export to” and finally select the “Annotation” option.
This option opens the wizard which will guide you through the steps required to create the annotation layer.
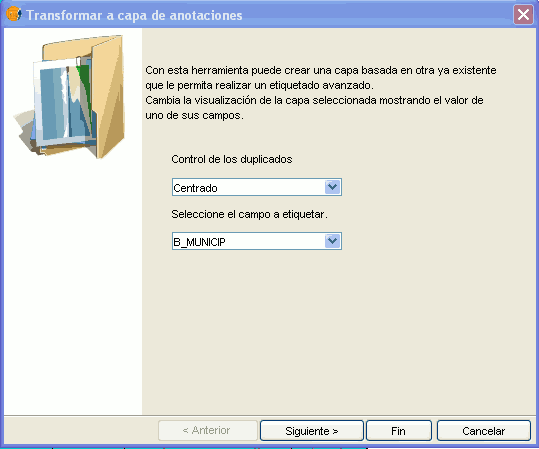
In the wizard’s first window, select the data which gvSIG requires to carry out the operation from the pull-down tab:
Duplicate control: Select either “None” or “Centred” to choose the position in which you wish the annotations to be inserted.
Centred: A label is created for each value and this will be inserted in the centre of all the labels which are the same.
None: A label is inserted for each value, even if these are repeated.
Select the field to be labelled: Choose the field which contains the text you wish the labels to show.
If you do not wish to modify the format of the annotations created by gvSIG and prefer a standard format, click on “Finish”. If you wish to customise the format, click on “Next”.
The wizard’s second window allows you to select the fields of attributes of a a table (if there are any) which contain the values which allow you to customise the labelling.
The following parameters can be customised.
Slope – the slope the annotation will have in the view.
Colour – annotation text colour.
Height – annotation text height.
Units – units in which the value assigned to the “Height” field are to be measured.
The options currently available are map units or pixels.
Font – annotation text font.
Set the values to be used for customising the required parameter (by pulling down the list).
Leave the default value in the fields you do not wish to customise.
Click on “Finish” when you have input these changes.
Cached time 11/21/13 15:01:36 


